Battery Lab – Absolyte Battery Bank Fix
Written by: Dave (Batman) N9AIG
February 24, 2023
The Anchorage Amateur Radio Club receives a variety of donations, and the challenge is to sort out what is usable (or repairable) and what needs to be recycled. Batteries are a donation that is always welcome, but they need to be assessed as to their condition prior to placing them into service. Our biggest battery bank is manufactured by Absolyte; a 12-volt lead-acid AGM type battery that is rated at 1200 amp-hours at a 20-hour discharge rate. The battery is kept on a float charge so that it is always ready in case of an emergency. Recently, this battery bank was exhibiting a leaky cell through the positive terminal. Its voltage was still acceptable, but because of the leak, it was decided to remove the leaky cell and replace it with one of our spare cells that was in better shape. Below is a photograph of the battery with its protective covers removed sitting on machinery rollers:
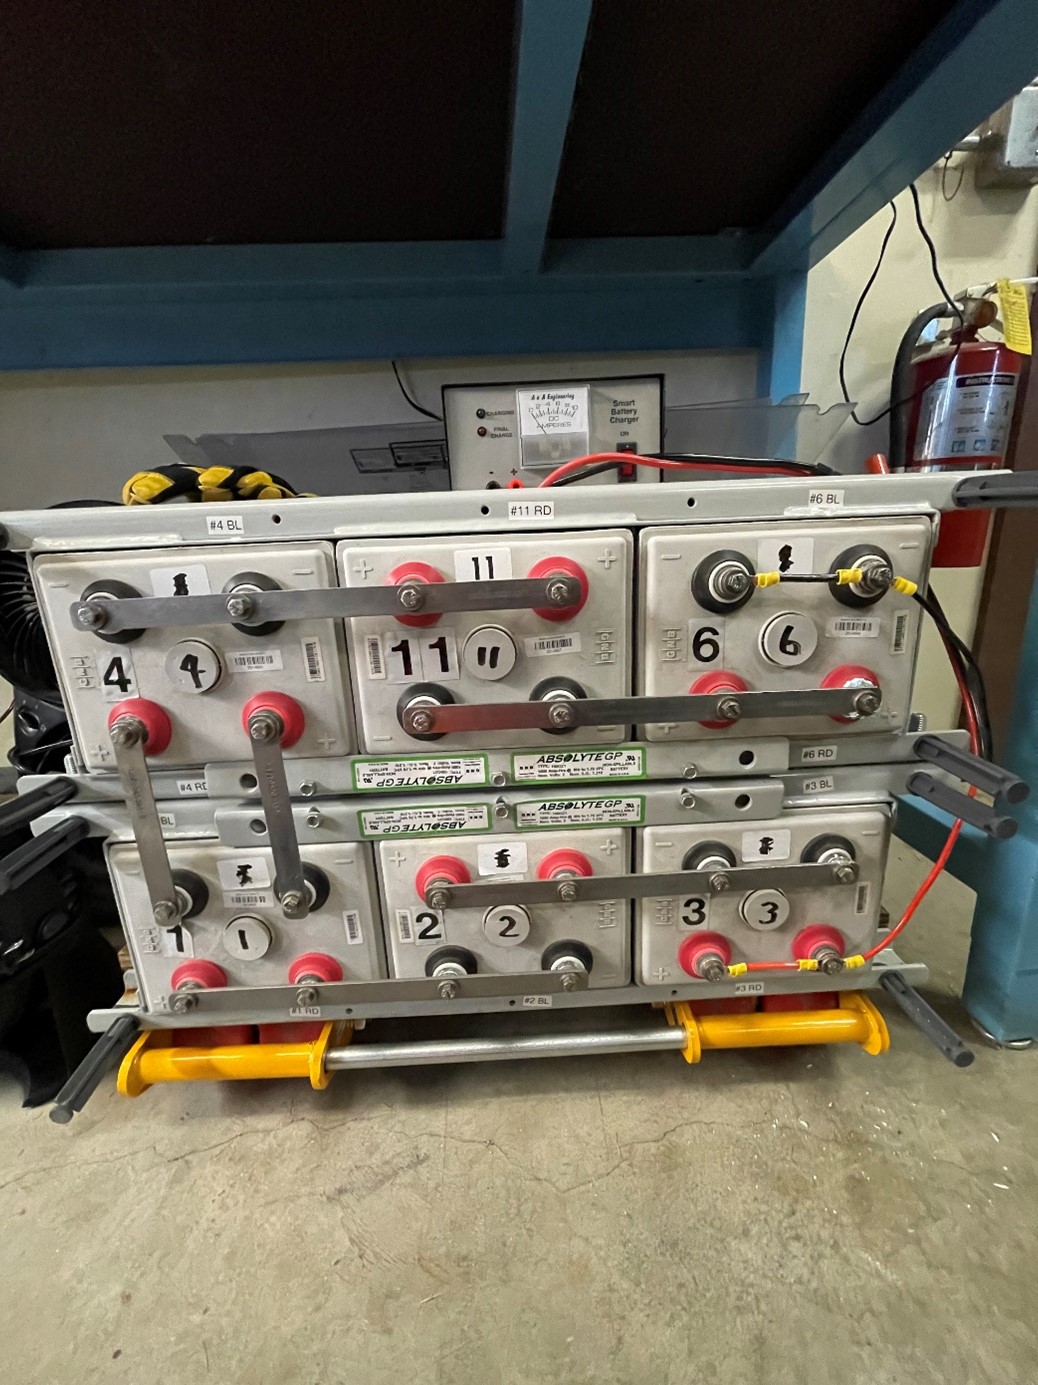
The task was to remove battery number 6 located on the top battery bank and replace it with battery number 9. Our club is fortunate to have a loaned engine hoist from TJ KL7TS that I was able to use to perform the heavy lifting.
The battery bank bus bar was removed, and the battery was rolled out to separate the two 6-volt sections. The top 6-volt battery was lifted off the bottom section and placed on a moving dolly that was rated for 1000 pounds (keep in mind that each battery weighs 134 pounds). Below is a photograph of the top section being lifted with an engine hoist:

During the lift and subsequent to lifting, care was exercised to not swing the face of the battery into a conductor. The fault current of a battery of this size is in the thousands of amperes.
Next, the 6-volt battery had to be placed on end so that the bad battery cell could be removed. The following photo shows how the individual cell was removed using the engine hoist:
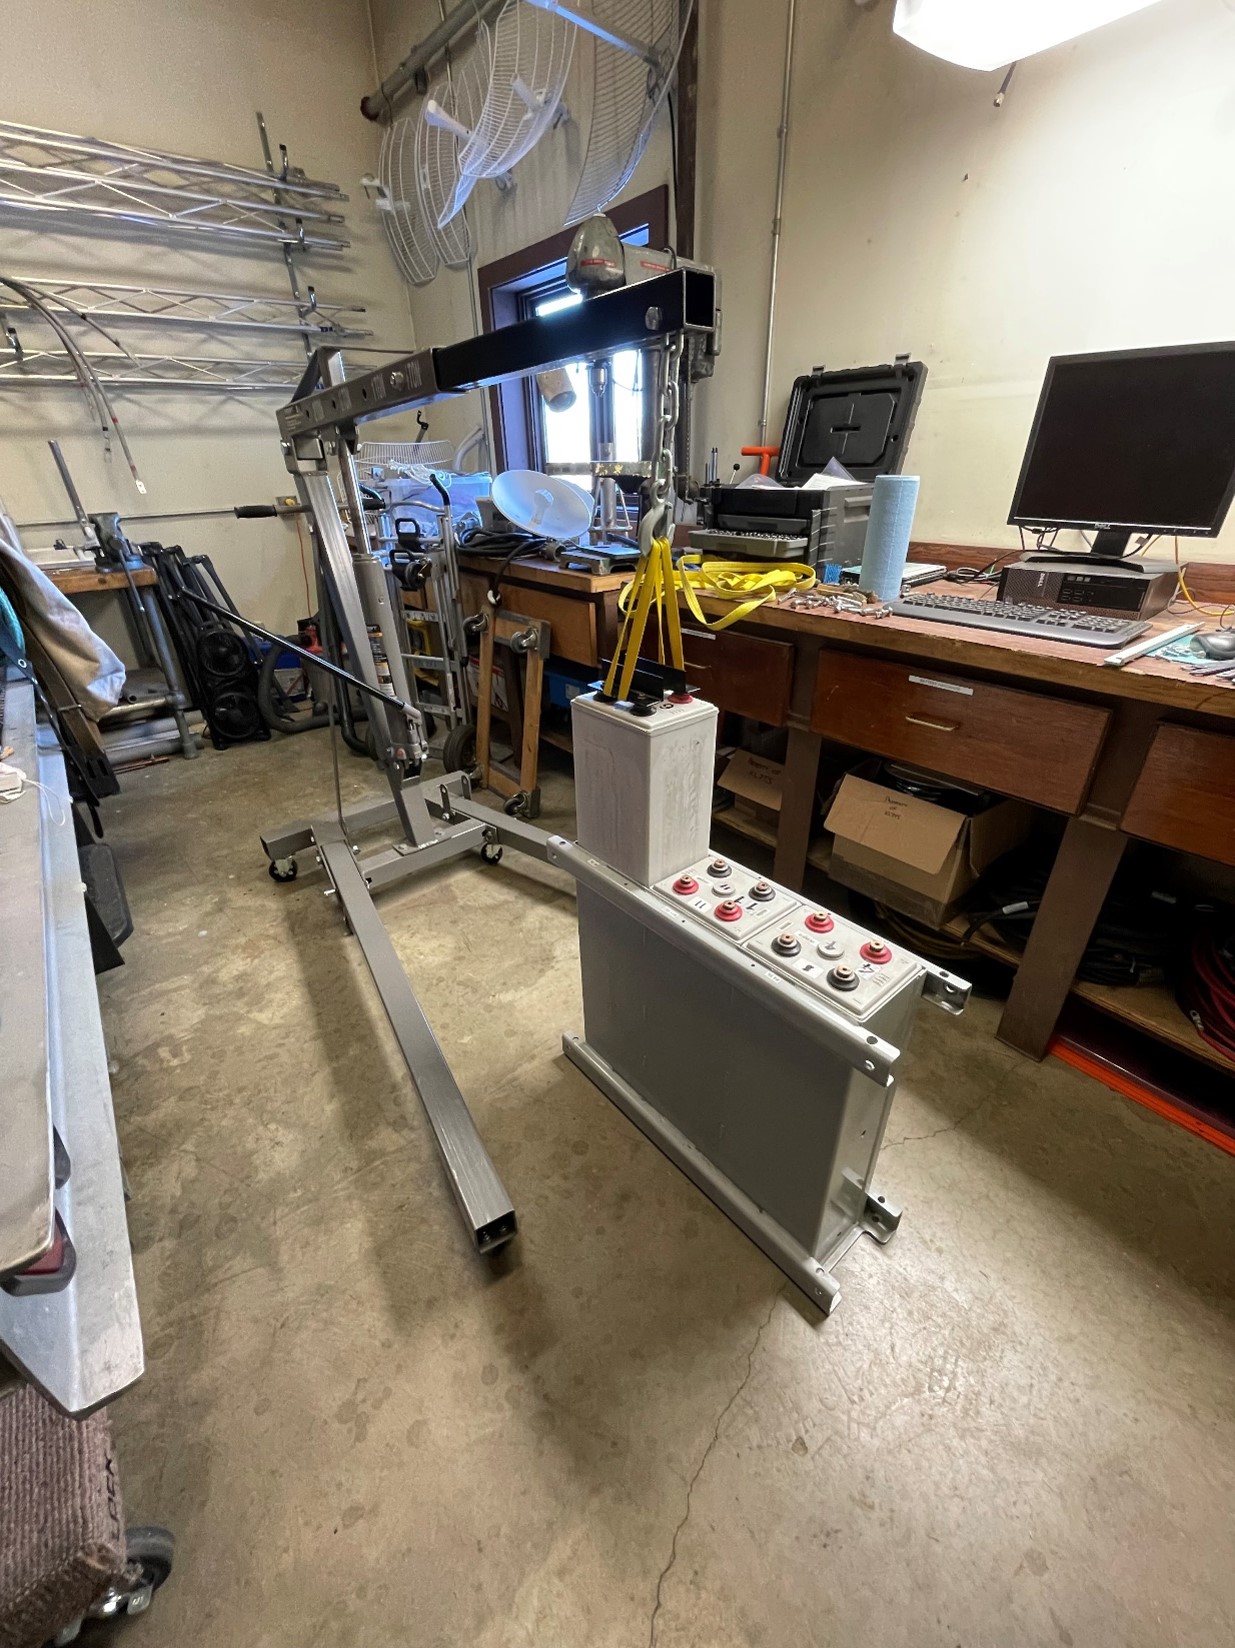
Note that the battery is lifted by its terminals. Two pieces of steel angle iron were fabricated and then carefully bolted across the battery’s positive and negative terminals respectively.
The whole process is reversed to install a replacement cell.
The completed battery is shown below with replacement cell number 9 installed with the buss bar over the top:
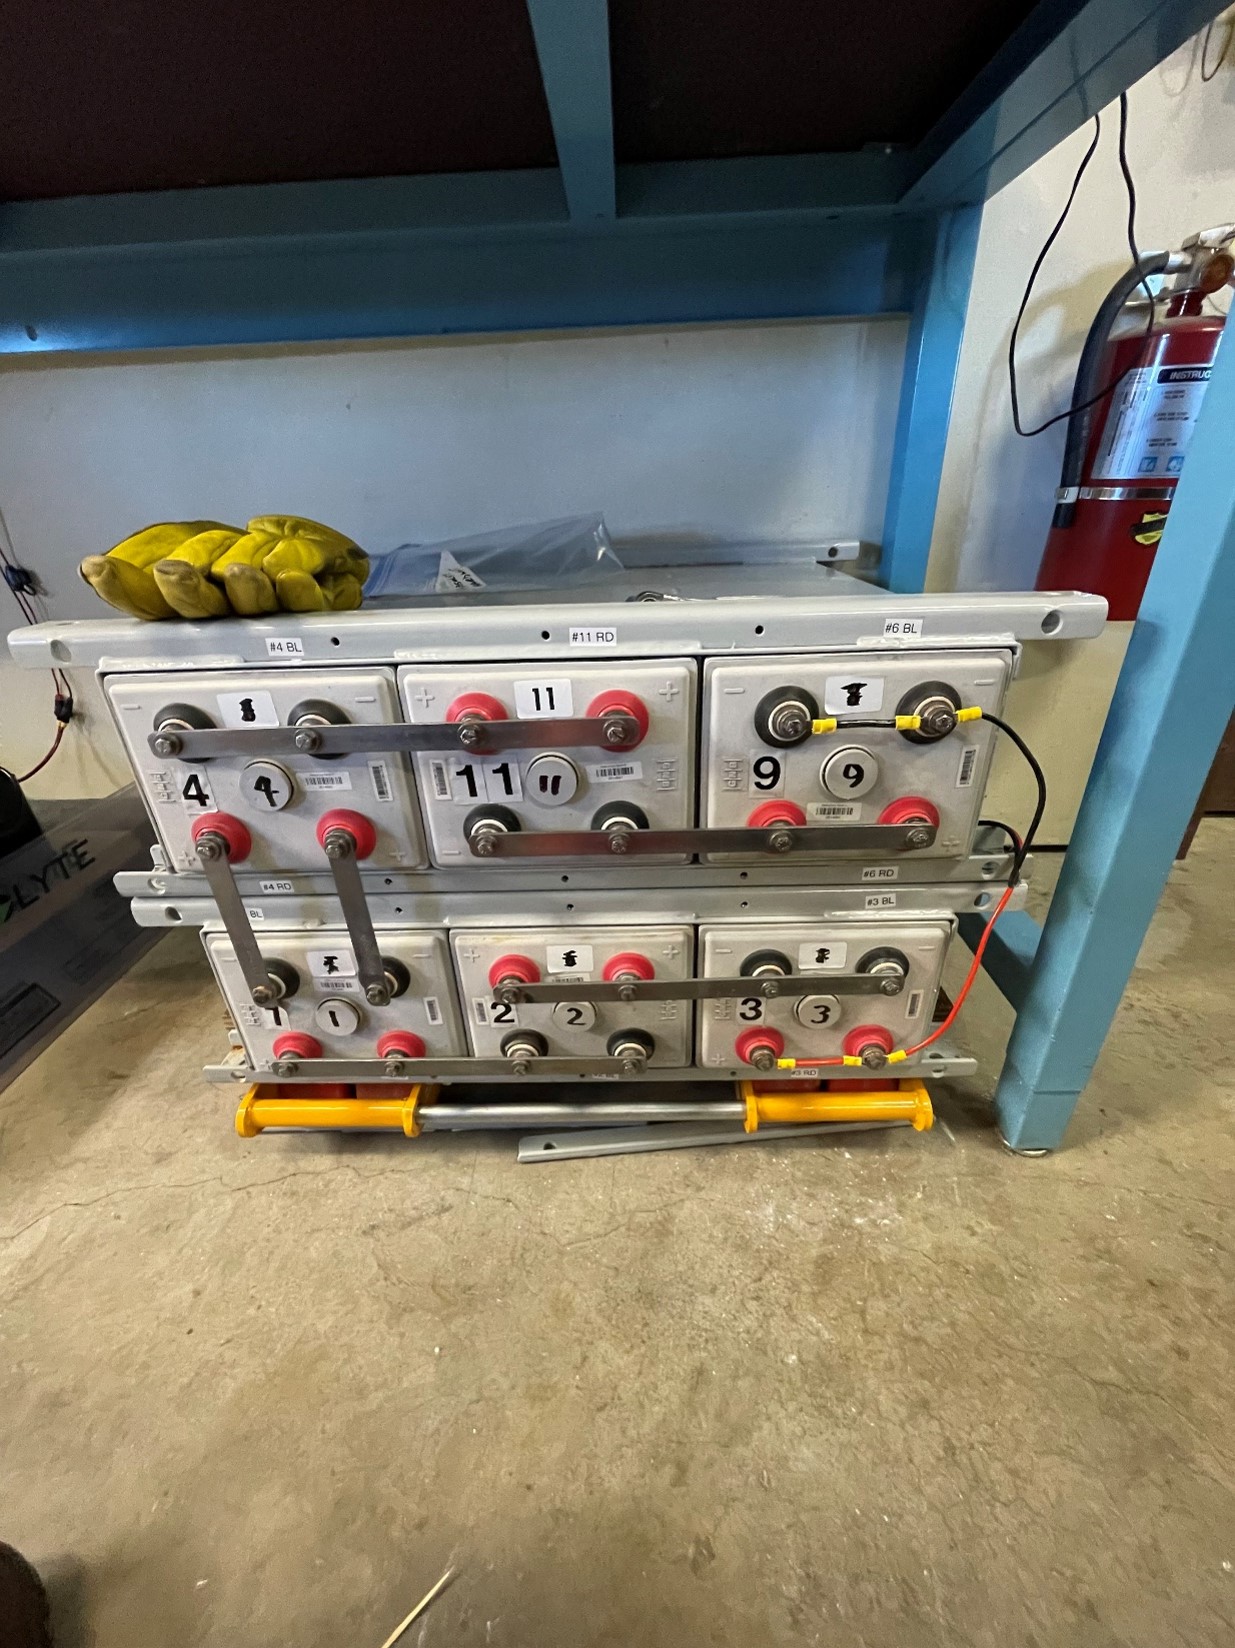
The battery protective covers were reinstalled and placed back on a float charger. The whole process of replacing the cell took about 4 hours for one individual.